Some of us have weak wrists. Some of us suffer from carpal tunnel. Yoga can help.
First let me tell you a secret about developing stronger wrists with Yoga. There are several poses that you can use, which I’ll explain soon. But first, if you haven’t read my post 3 Yoga Poses to Make You Sturdy, let me tell you something. The tip that doesn’t get talked about enough is: keep intention in your fingers. Your fingers help your wrists bear the impact of supporting the weight of your body. When preparing for wrist poses, spread out each lovely extension as wide as you can, and, like your toes in Tadasana, lift the tips of your fingers and allow the power to radiate from your fingers. If you put intention into sharing the responsibility of the weight, you will lighten your load.
Plank Pose
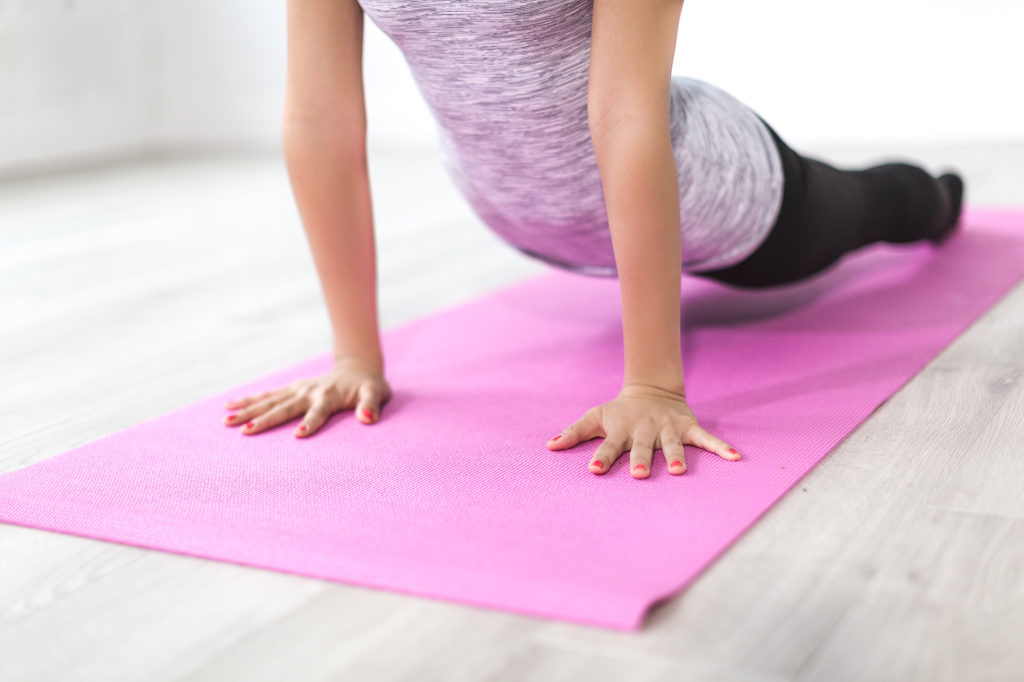
This is probably the most universal way to gain strength in your wrists. You can do from standard straight legs and back on toe tips and flat hands, or with knees to floor. Variations include side plank and Upward Plank Pose. Hold your version for at least 30 seconds. As you develop wrist and core strength, extend that period to longer times. Work a few minutes of Plank Pose into your day. Even when you are not exercising.
Crow Pose
I don’t know about you, but I love this pose. It simultaneously reminds me of the fun I had playing in the yard when I was 7 years old and of how strong it makes me feel right now. I feel empowered knowing I can keep my body quiet in an awkward position. It gives me strength to keep my gaze on that spot just above my head on the floor as I count as many breaths as possible before coming back down, with as much control as possible. Start in a squat and place your wrists directly below your shoulders. Relax into the pose by putting your knees in your armpits, just to do a slight stretch. Then place your knee caps on the back of your triceps as you lean forward slightly. Slowly lift your toes off the floor. If this pose is new to you, you can work to just keep your toes 2-3 inches off the floor. As you gain more strength, your toes can come together a foot off the floor as you maintain a calm, steady breath as you hold yourself in balance on your wrists for an increasing number of breaths.
Handstand
This pose is, of course, not for the faint of heart, but wow, can it make you feel good! Most Yoga teachers don’t want you to do a handstand until you are at least into an intermediate level, because it takes an extraordinary control to keep your body in balance during handstand. Normally you are not using the wall, but simply pushing your legs overhead in the middle of the room. But let’s start small. Near a wall, start on all fours – hands flat on the floor and toes tucked under with knees on the ground. Then push your knees up and back, as if in downward dog. When you are ready, flip one leg upward, with the other joining the first directly after. Your fingertips should be about 12 inches away from the wall. Once your heels are on the wall, keep your feet parallel to the floor and toes pointed. Keep the intention and the strength in your legs while maintaining a focus on the strength your fingers are providing to the pose. Once you have breathed 10 deep breaths, slowly, with control, bring your feet (legs straight) down to the floor. As you gain strength, keep in the inverted position for an increasing number of breaths. Generally Handstand is done towards the end of a yoga sequence, so if you are working on Handstand alone, you might want to take a few moments in child’s pose at the end to restore your body before you come to stand again.
If you perform these three poses with some regularity, in just a few weeks you will note that your wrists are stronger. And most hopefully the pains you occasionally feel at night or even during the day in your forearms will melt away before long.


